

Hello, friends! It's Elisabeth from Literacy and Lattes here with a fun bulletin board tip!
I love to use my cricut to cut letters for the classroom, but sometimes I want things in a color or pattern that just isn't easy to do with the machine...or sometimes you just need a giant house on a giant bulletin board!
So...I'm here to share how you can print your own posters!
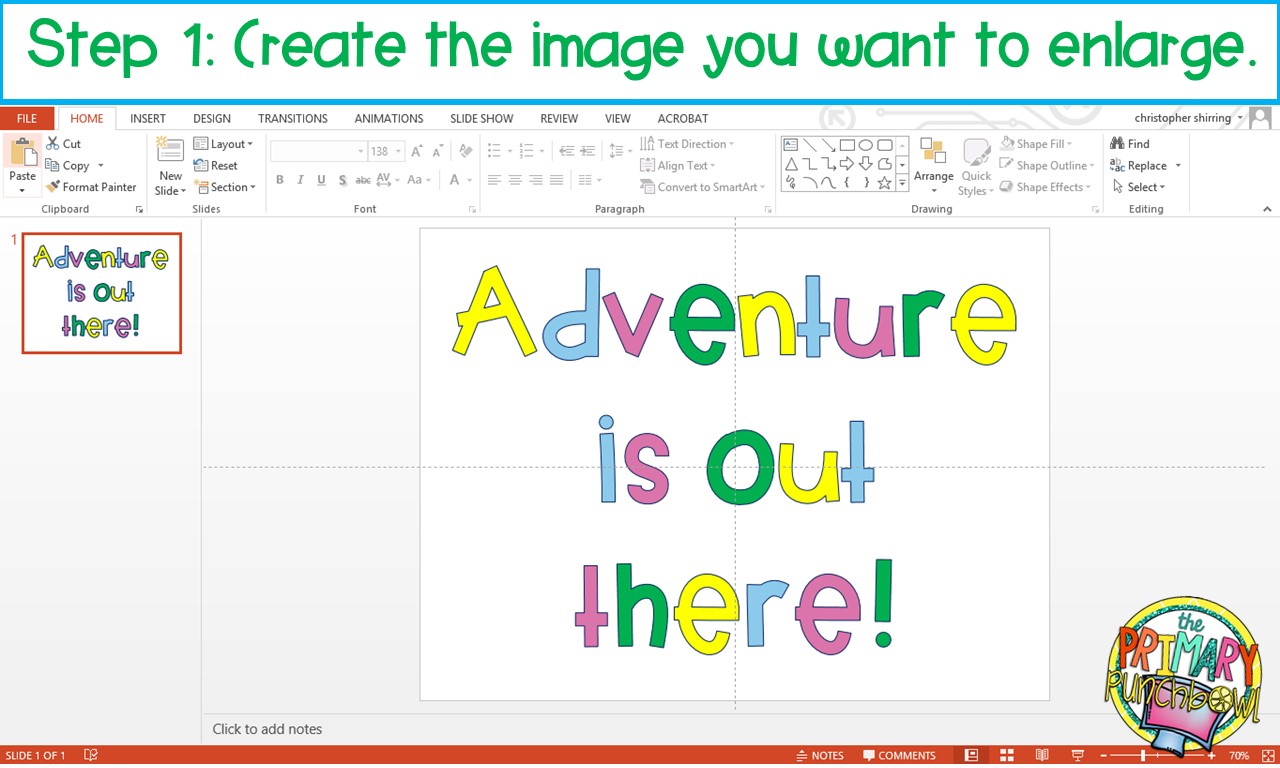
To start, simply create the image you want to print. I like to use PowerPoint to create, but you can use Word if you prefer. If you want to use clipart, I arrange my image to take up as much of the page as possible.

Next, select "PRINT" and save your file as a PDF.
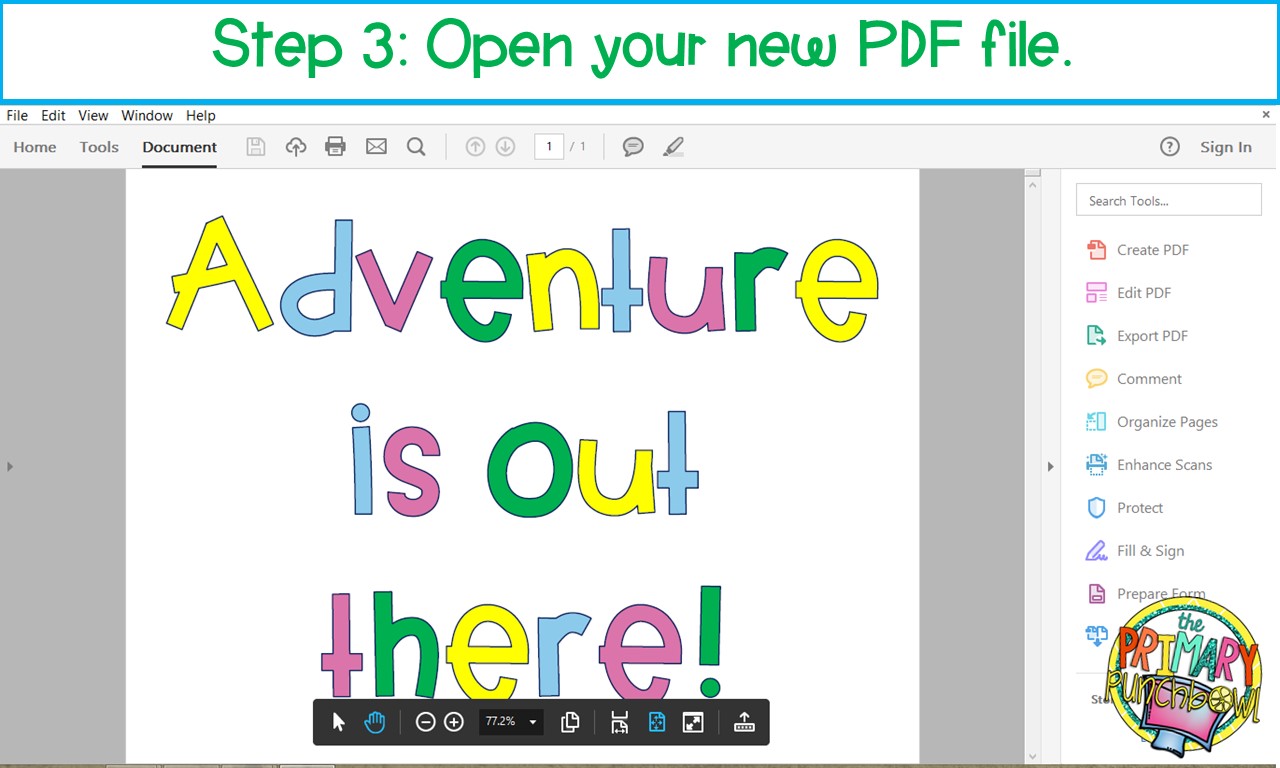
Now open your new PDF file - it might open automatically after saving.

Then, select "PRINT."

Finally, select "POSTER" and set your scale. I just set this by experimentation. The preview shows how many pages your poster will print over so you can get an idea of how big it will be when you print the file.
Once you've set your scale, print your file. I like to print on cardstock so it's easier to assemble and a little more durable.
Now you have your pages and you're ready to put them together!

Start by trimming the white edges from your image and arranging your pieces.
BUT BE CAREFUL! You want to leave the white edges on your pages for now. This will help you put your pages together. Trust me, I've made the mistake more than once and it's way more difficult to put the pages together when you cut flush to the image.

Now that you've arranged your pages, carefully decide which of the white boarders you will cut off. This is much easier when you're putting together a small object - two or four pages or enlarged letters - but when you're putting together something large like my 3x3 page house, you'll need to trim only certain edges. I like to trim the white edges off the pages what I'm putting on top. For the house I trimmed the edges on the outside pieces and left them on the center pieces.

My papercutter is pefect for easily and neatly slicing the line.

Now you have a clean image without any white boarders.

With the edges trimmed, you're ready to glue. I like to use rubber cement - even though it smells horrible, it gives a nice smooth finish.

Finally, I tape the back of the seams. It's probably unnecessary, but I think it helps keep things secure.

Letters are a little easier, since they don't have as much assembly. And seriously, how cute are these glitter letters?!?
I am loving how this board turned out! The big house plus those dust jacket balloons...it's just perfect for "reading teacher nook" in the school library!

What are you excited to enlarge and decorate? I'd love to hear!


No comments