

 |
| Very Simple Question |
I apologize for the bad pictures but I have asked Santa for a new camera so maybe he will come through this year :)


This one they choose the correct spelling.
 |
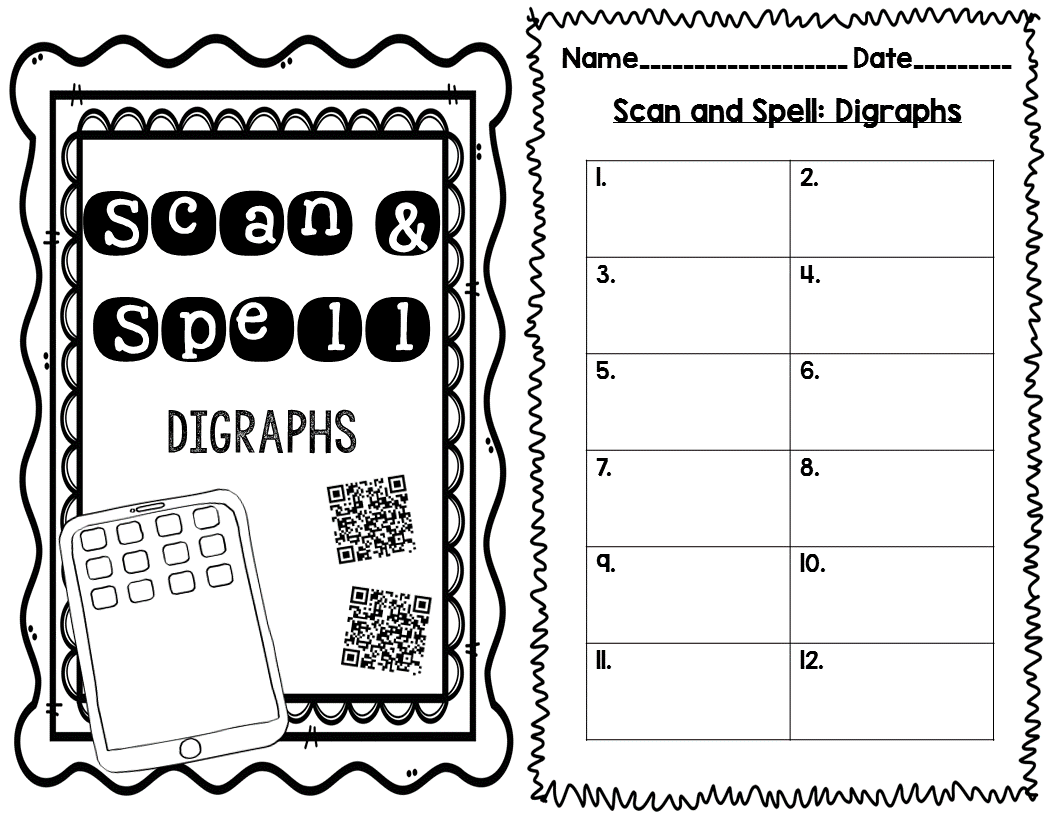
| Christmas theme! |
This task card tells them what to do, they scan the code and then read the word. I've also done this one vice versa where they read the word, then scan to see what to do.
Like the pictures? Think this is something you would like to do? Then read on! 

Ok let's get started!! I like lists. So I'll be listing steps and teaching through pictures!
First you have to make a picture.
1. Open PowerPoint.
2. Choose a Blank template. Change the slide size to 8.5 x 11.
If you don't want to have to do this every single time you open PowerPoint, check out {THIS} tutorial from Sara J!
3. Delete the boxes.

Second, I like to make the cards 4 to a page so I insert a table.
1. Click on Insert tab.
2. Click on Table and drag the mouse over 2x2 squares.
3. Click.
4. BAM!
5. Table is inserted.

Follow these steps to format the table:


I find these rectangles to be the perfect size for QR Codes and Task Cards and Problem Solving Cards and lots of other stuff. I have lots of these templates (multiple sizes, more columns, etc.) already stored in PowerPoint that I can pull up when needed. I do much better work when I have boundaries to keep me in check!!
Third, design your pictures!

In this particular activity, we are studying digraphs. So the students will look at the picture and then choose the correct spelling. They will write the correct spelling on their recording page.
Once you have designed your pictures, then you have to save them as one picture.


Repeat with all of your pictures. Save them in a spot you can easily access and name them something you will remember and be able to differentiate the pics. For example, I create a folder in My Pictures file called "QR Code Pictures". Then I create a sub folder, in this case called "Digraphs" and I save the pics there. These would be called fish, shell, wheel, graph

Fourth, upload your pictures to a file sharing website, like Google Drive, Photobucket, Dropbox, your blog, etc. You need to host the pictures online so you can get a URL.
Here's how I do Google Drive:
1. Login to Google account.
2. Create folder to hold pictures: QR Code Pictures.
3. Share this folder: Anyone with the link can view.
4. Open folder.
5. Click New and upload pictures.


After uploading the pictures, now you can make QR Codes!
1. Select the picture.
2. Click the link button.
3. Highlight the link and copy it.
If you press the CRTL key and the C key at the same time if copies it to the clipboard! Or you can always do the good ol' right click and copy from the drop down menu. I prefer shortcuts because I have no patience. At all.

Then I use the trusty QR Stuff website (FREE) to make my QR codes. Google also has a QR code maker as does most of the Internet. Use what works for you!!

I have my Internet Browser (Google Chrome) set up to always ask me where to save the file I download and to name it, rather than giving it some generic 12 digit number. This helps keep my computer files organized and I can always find where the stuff I download is!
Make sure to rename the QR Code so you can find it easier. For example, the above code would be called "qr code fish" because that's the picture it links to.
You can also screen shot the code, paste it in PowerPoint, and then crop the extra around the code instead of downloading it, but I think downloading is just the easiest.
To set up Chrome to do this:


I can also show you how to do Mozilla Firefox if you would like!
Then after making the code, all that's left to do is create the task card. I do the same thing, open PowerPoint, insert table, insert pictures. But this go 'round I only do a border and I attach a number.

I also do the cards in Black and White and print them on Astrobrights paper! I save ink, and it's bright and colorful! I don't have to worry about printing the codes in color and I save my sanity by using different color paper for different weeks.
When they scan the code they get the colorful picture! I can also use this same template each time I make a new weekly Building Words center.
The frame is already there.
The number is already there.
Delete the current QR Code and replace it with a new one.
Print on different colored paper.
BAM! New weekly center.
Recording page is the same way. Use a table. I also make a cover page and glue it onto a small brown clasp envelope. I store the recording page and the task cards inside.
Here is my nephew helping me out with my compound words QR Codes.

And speaking of Compound Words: I put one picture of the QR Code card and they scan to see the other picture, put the two pictures together, and they have the compound word!


You like? Click {HERE} for this freebie on Digraphs and Compound Words.
Well that's all I have for you today! I hope this tutorial helps you and is easy to follow. Please let me know if there is anything that needs to be clarified!
I've also created this FORM so you can write down suggestions on future Tech Tutorials that you would like to see on The Primary Punchbowl or on Pride and Primary.

Thanks for reading!


Thanks for the shout out, girl! I love this tutorial. I've always done qr codes with just the plain words, but you are right, the words are too small and not cute. Excited to try this out!
ReplyDeleteSara
I'm loving this tutorial! I've been playing with QR Codes and I've liked what I've done so far, but this just helps to up my game and clearly ENGAGEMENT! I'm so excited! :)
ReplyDeleteVery creative tutorial! This QR code generator is great for kids; has lots of cool features like different shapes, frames & styles.
ReplyDeleteIf you need a custom shaped QR code use this online tool.
ReplyDelete